Email Account Management can seem like a daunting task, especially for a beginner. From account creation to resetting passwords and setting up autoresponders – we have you covered. In this article, we will look at some of the common terms associated with email management, as well as give you a step-by-step guide on how to set up a new email account. Ready? Let’s get started.
Terms To Know
IMAP
Internet Message Access Protocol (IMAP) is a protocol for receiving emails.
POP3
Post Office Protocol (POP) is a protocol for receiving emails. The 3 in POP3 is the version number of POP.
SMTP
Simple Mail Transfer Protocol (SMTP) is a protocol for sending emails. It is the industry standard for sending emails.
Exchange
Exchange is a mail server and calendaring server, developed by Microsoft. It runs exclusively on Windows Server operating systems. It supports the IMAP, POP3, and SMTP protocols.
IMAP vs POP3
BlackSun’s shared hosting and exchange servers support both IMAP & POP3 setups, so what’s the difference between these protocols?
The key difference between IMAP and POP3 is how they handle receiving emails.
IMAP will keep emails on the server and synchronize your email program with the server. Furthermore, with an IMAP setup – emails are typically left on the server until they are explicitly deleted by the user.
POP, on the other hand, will download the email from the server to one computer and then delete the email from the server.
Which One Should I Use?
Whether you chose POP3 or IMAP depends on how you are accessing your emails.
Most often, we recommend using IMAP because it is an ideal solution for receiving emails to multiple devices (i.e. a phone, and a computer) and having the emails sync.
If you prefer having your emails available offline, however – POP3 would be an ideal solution.
Creating A New Email Account
Creating A New Email Account in cPanel
- Login to your cPanel account, which is located at https://yourdomain.com/cpanel (replace yourdomain.com with your domain name).
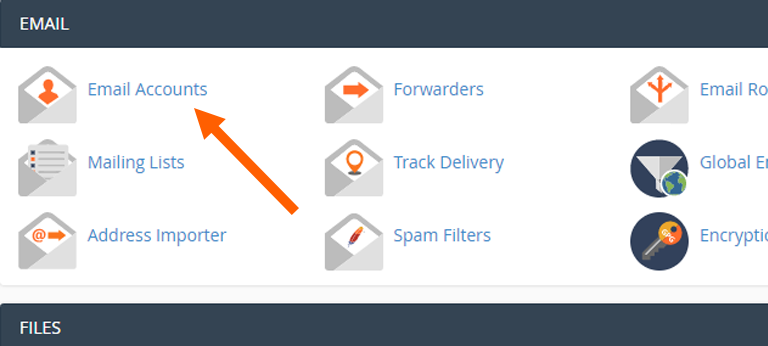
- Click on “Email Accounts” to manage your email accounts
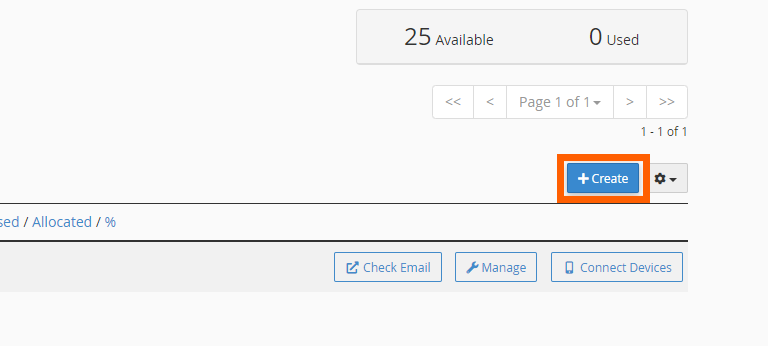
- In your email accounts tool, click the blue create button on the right side of the screen.
- Enter the email you wish to create in the username box. If you have multiple domains, a dropdown of all of your domains will be shown to allow you to chose which domain you are creating this email address for.

- Enter a password for the account

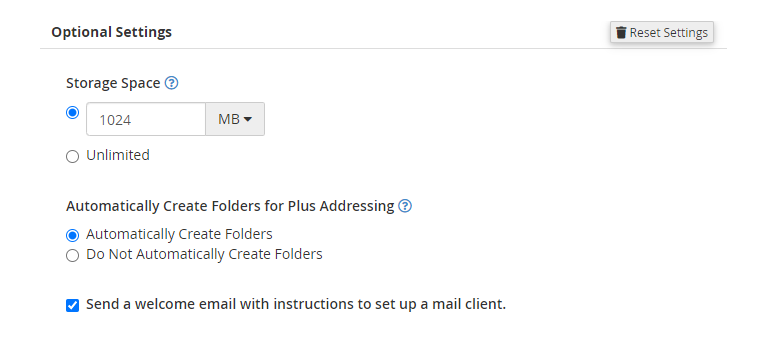
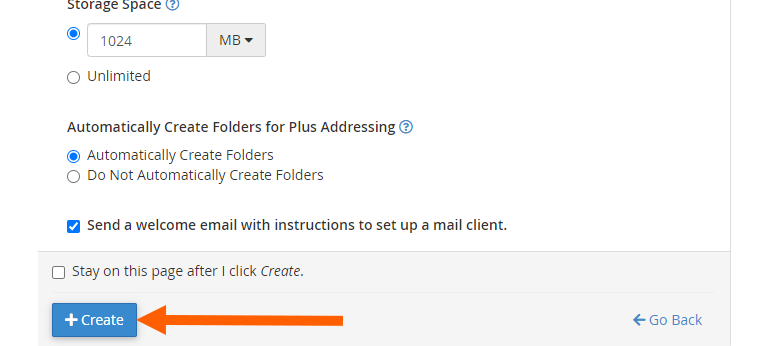
- Click the “Edit Settings” under Optional Settings, and set your Disk Space for this account. 1024MB (1GB) is a good place to start, but if you need more than that go ahead and set this now.

- Click “Create” to create your new email address.
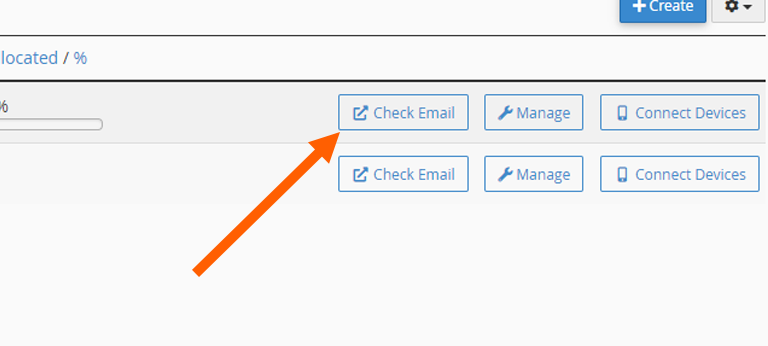
- Your new email account should now be displayed in the list of email accounts. You can check your email via the webmail using the “Check Email” button beside your email.
Email Password Resets
Email Password Resets in cPanel
Resetting an email password in cPanel can be done in three easy steps!
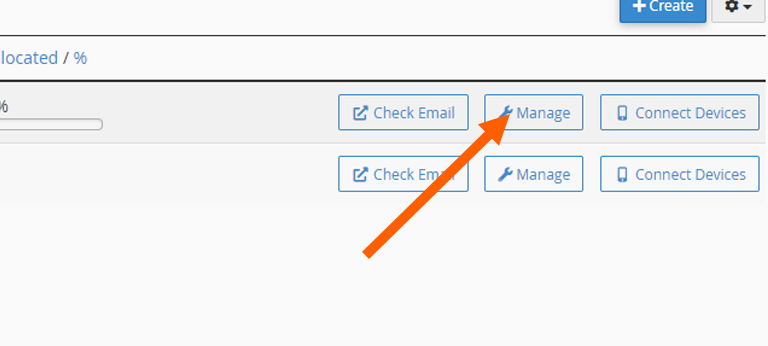
- Click on the manage button beside the email account that you wish to reset the password for.
- Enter a new password, or use the generate button to generate a secure password.

- Click on the “Update Email Settings” button at the bottom of the page.

Out-Of-Office Autoresponders
Setting Up an Autoresponder in cPanel
- Click on the “Check Email” button next to the email address you wish to set up an autoresponder for.

- Click on the “Auto Responders” feature to manage your autoresponders.

- Click the “Add Autoresponder” button.

- Enter the details for the autoresponder. Let’s take a quick look at what the options are:
Character Set
This is the encoding that is used in your email for the text characters. Usually, you will want to leave this as UTF-8.
Interval
This is the amount of time the autoresponder will wait between emails to a single address. For example, if someone emailed you twice, within a span of 24 hours, and your interval was set to 24, it would only respond to them once.
From
This is the name that will appear in the sender field when an email is sent by the autoresponder.
Subject
This is the subject of the email that will be sent by the autoresponder. This can be something along the lines of “Out Of Office”.Body
This is the content of the email that will be sent by the autoresponder. You can use variables such as %from% to address the sender by their name.
An example of this is if the sender was John Doe — %from% would automatically be replaced with John Doe.
Start
The date which you wish for the autoresponder to start responding to emails.
Stop
The date which you wish for the autoresponder to stop responding to emails. - Once you have filled out all of the above fields, go ahead and click “Create” at the bottom to finish setting up your autoresponder.
Adding A Forwarder
Adding A Forwarder in cPanel
Adding a forwarder in cPanel can be done in 4 easy steps.
- Open the “Forwarders” feature in your cPanel

- Under “Create an Email Account Forwarder”, click “Add Forwarder

- Enter the address you wish to forwarder and the address you wish to forward to.

- Click the “Add Forwarder” button. That’s it! Your emails should now be forwarded to the specified email address.
